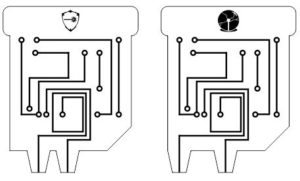
The creation of the Crystal Stations for Cryptology Sheffield‘s First Contact escape room game spanned April 2018 to July 2018 and went through 3 prototypes.
This has been covered by the video blog which is on our YouTube channel (and can be seen below), some extra details are within this blog.
Define The Concept
The concept was simple, players have to find a crystal and place it in the correct station. Each crystal has different lugs which will mean it will only fit in the correct location in the correct station. The stations will be lit by LEDs and when the correct Crystal is placed the LEDs change colour.
It was clear from the off that the Laser Cutter would be in heavy use for this project. The laser cutter requires the creation of a vector so that the cutter can function. CorelDRAW is the software I use to create these, and the Crystals seemed quite easy to think of a design and shape for.

There are four departments in the First Contact game. Each station will have a primary Crystal with the correct symbol at the top. Some of the secondary Crystals will fit in more than one slot in different Crystals, these will have multiple symbols. With this in mind, the next step was to design the slots for these Crystals to fit in.
Creating the Vectors For Lasercutting
Whenever a lasercut project is thought about, the materials very often determine the design.
The Crystals clearly had to be made out of clear Acrylic (Perspex), 3mm would be too flimsy whereas 5mm would be ideal.
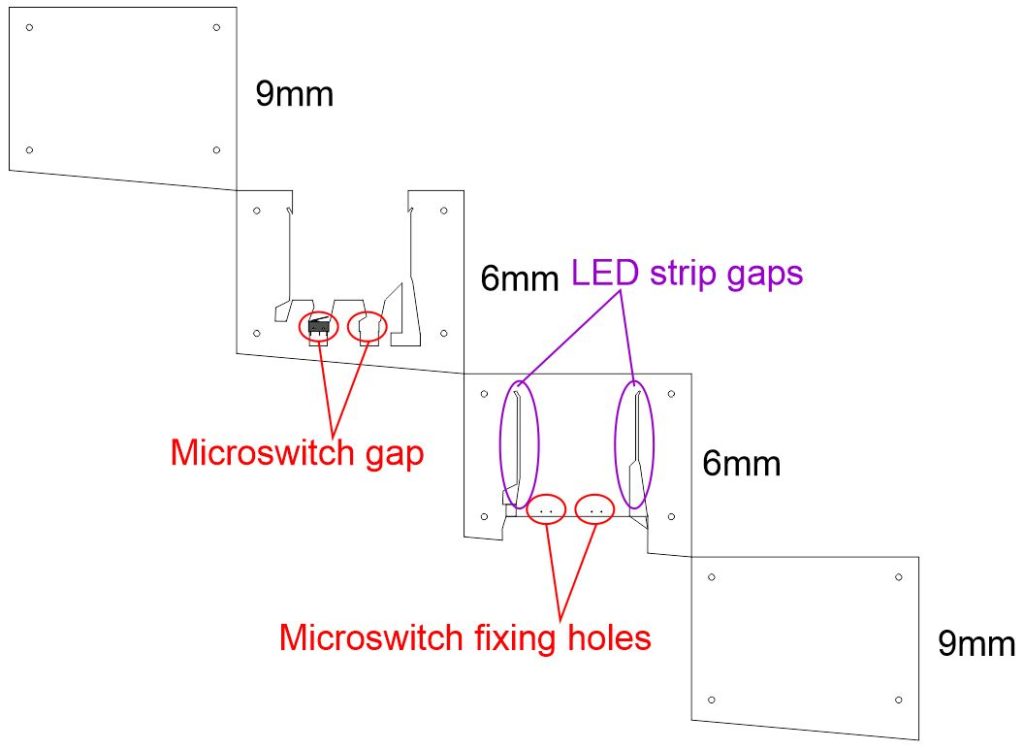
This would fit nicely in a 6mm MDF slot leaving just the amount of room so it’s not too tight. Annoyingly, LED strips are about 8mm in width, therefore these would need to be built up in layers. 9mm MDF should be used for the ends and the separators. All of these should be screwed together, not glued.
The crystals would hit two microswitches, one for the LEDs the other for notification or connection to the electronics for the next part of the puzzle.
With this information, the layers of the console were design and cut on the laser cutter.

The Creation – Piecing It All Together
Whilst lasercutting these layers takes a few hours, I was under no illusion that this was not the most time-consuming part of the job. When all of the layers were cut en masse, the first job was to match the crystal gap layer with the correct microswitch fixing hole layer, in combination with the correct Crystal. Once this is done, then the layers can be built up with the microswitches and LEDs.
I got into a bit of a routine: cut all red and blue LED strips for this console, 9mm MDF layer, 6mm microswitch fixing layer, solder red LED positive to a microswitch, thread red LED and microswitch through next 6mm MDF layer, position microswitch, thread other microswitch, nail in microswitches, solder blue LED to first microswitch NO pin, 9mm MDF layer (etc.).
This process for the simplest (3-slot) console took about 3 hours, it still needed to be transported up to Sheffield and wired up.
When the first complete station was wired in, the effect was far beyond what we expected. It was incredibly fiddly, over 600m of cable was required to get every console to the GM room for notification, but we know when each Crystal is correctly inserted.
The Result
It took 3 main prototypes with tweaks to get the finished result. The process of the creation of all Crystal Consoles gave us an iconic array of puzzles! All of it in theme of a space ship in the future. We are very pleased with the end result, even with what the customers will never see… (video below)


Leave a Reply
You must be logged in to post a comment.